Component
In the ODJ a Component is defined as the smallest Entity of a Product according to the Architecture Runtime Model (ARM) . It basically represents a Microservice according to cloud native development. A Component should be designed in respect of the Twelve-Factor App Paradigm. This makes it cloud-ready and easy to deploy and run optimal on cloud infrastructures. A Component can expose a Capability to be used from the outside world and can implement other API's or PaaS from the according Hyperscaler. All this can be configured by the ODJ.
Add a Component
To add a component to your product simply click on the "Add Component" Button.

If you already have some components in place you find a list of all component's for the current product in the list section

Component Wizard
After you clicked the "Add Component" Button the adding will be done via the component Wizard and some general information about the new component.
General Information
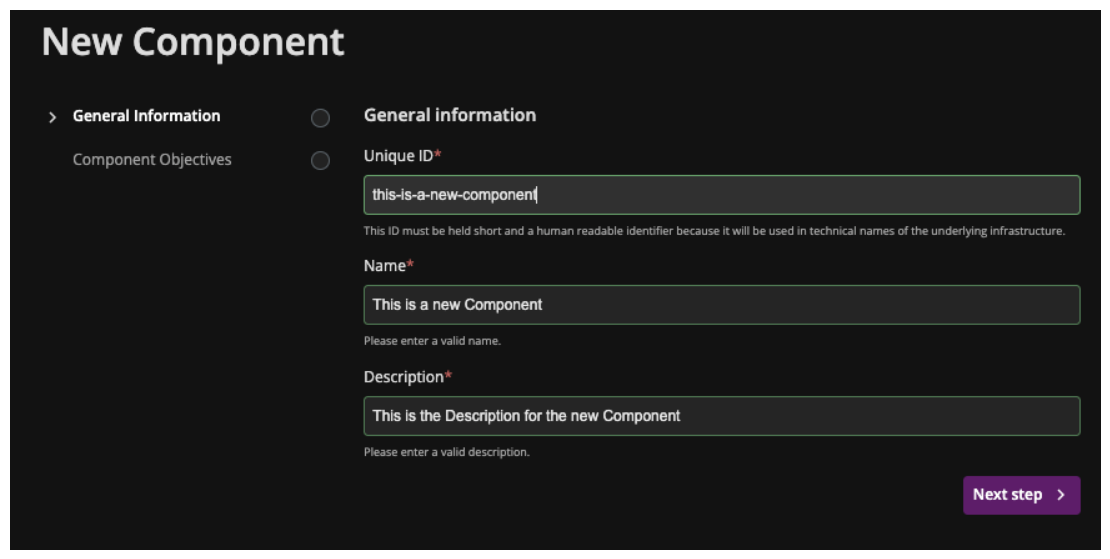
The general information fields are:
- Unique ID*: a unique ID that makes it easy to identify the component.
- Pattern: ^[a-z][a-z0-9-]22[a-z0-9]$
- Name:* a name freely chosen by you.
- Description*: a short description that describes the component.
Component Objectives
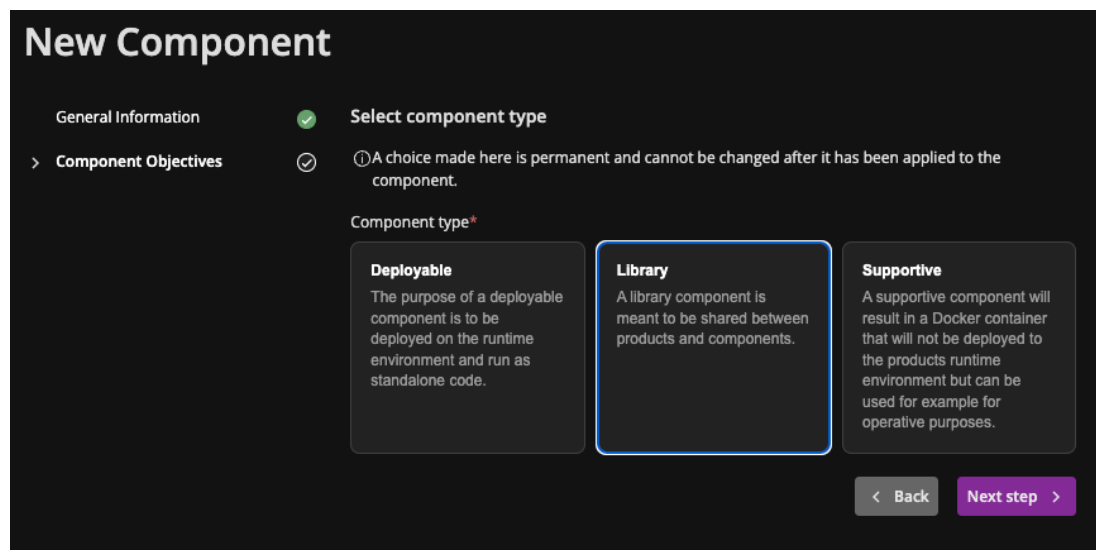
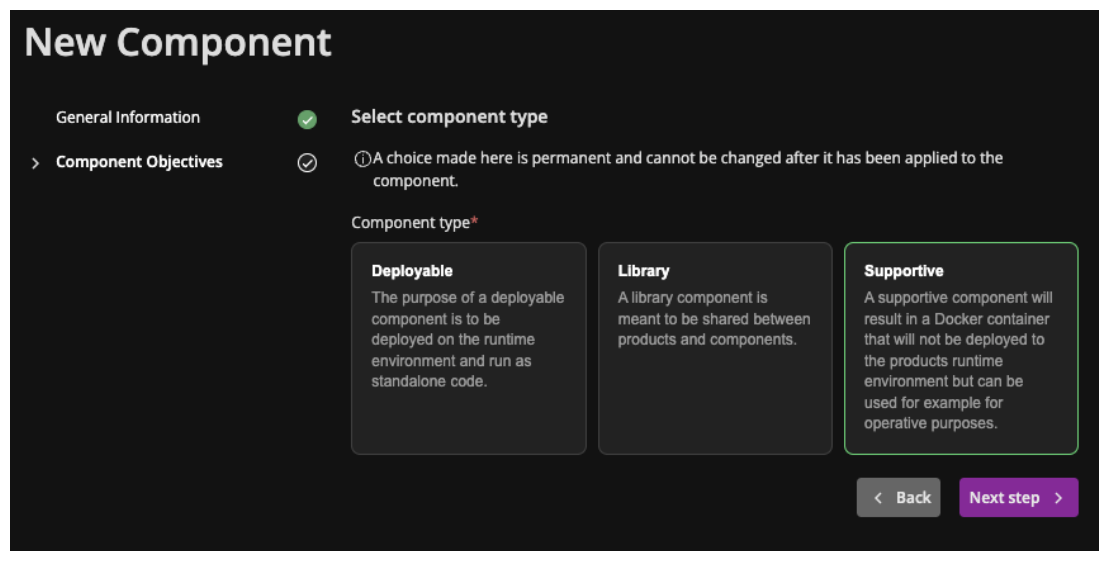
The component objectives are settings that form your component. It starts with the selection of the component type:
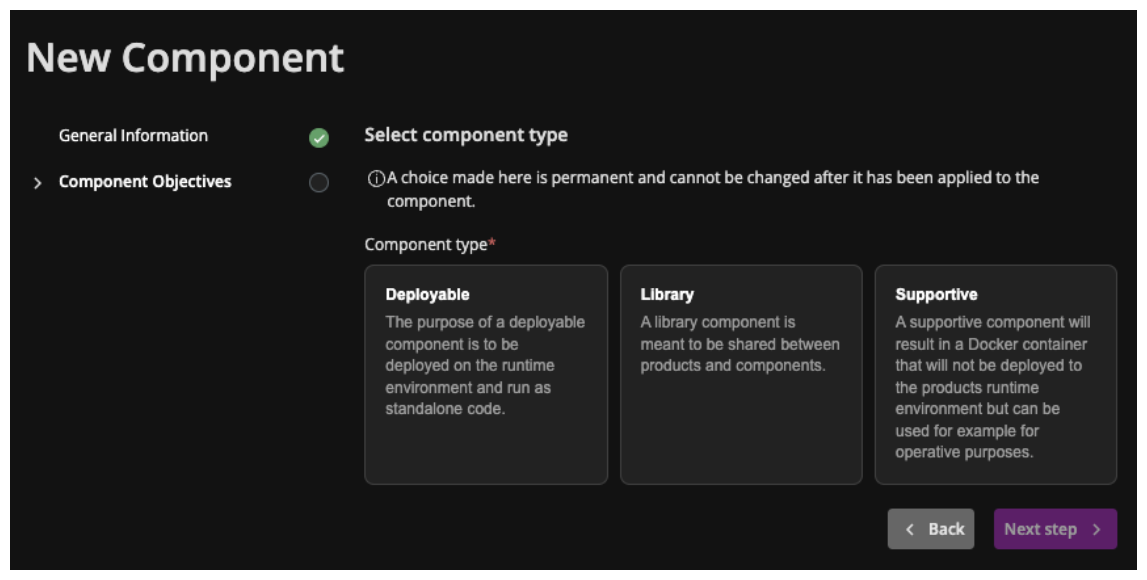
The component types you can chose are the following ones:
- Deployable: is a component which ends in a container and can be deployed in the cluster as main part of the application design.
- Library: is really a library for shared code. (e.g. shared code between all components in a product).
- Supportive: is a component which ends in a container and will be deployed just when it is needed into an cluster
the choice will derive the next steps.
- Deployable
- Library
- Supportive
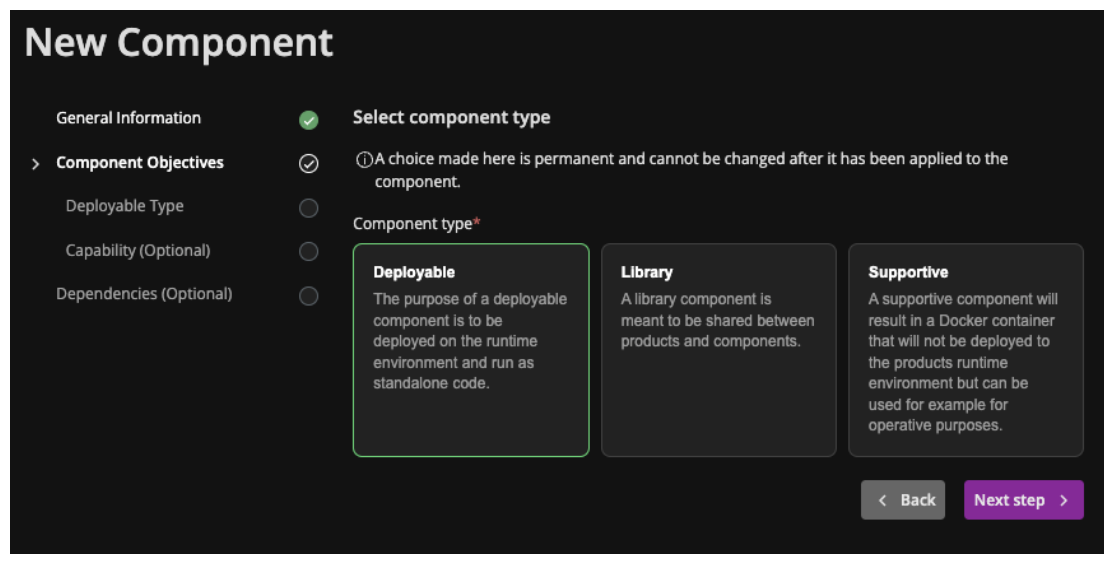
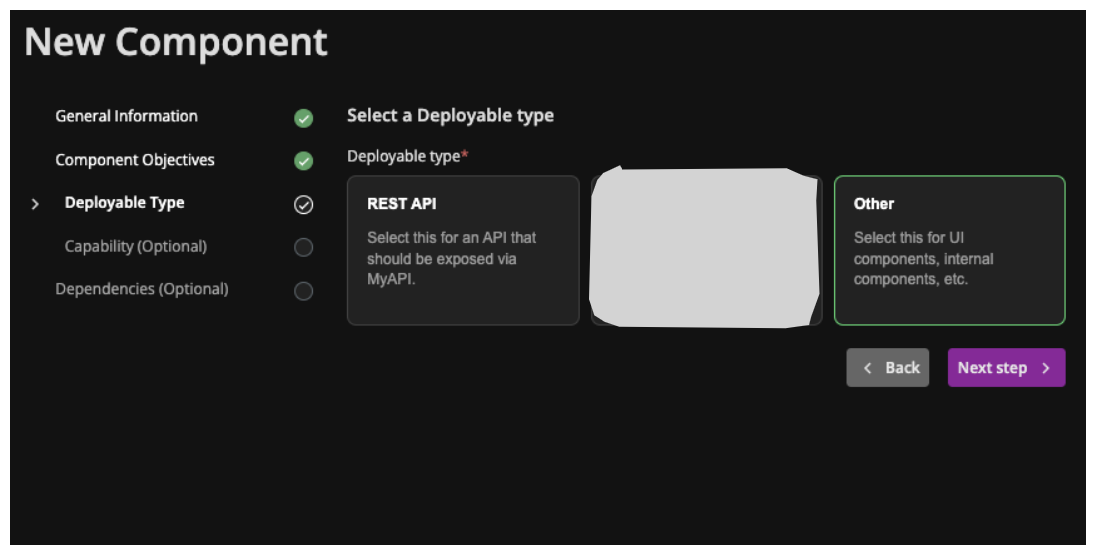
When choosing Deployable als type you will see some more steps further on to specify the deployable with a deployable type and some optional properties for capability and dependencies
- Rest API
- Other
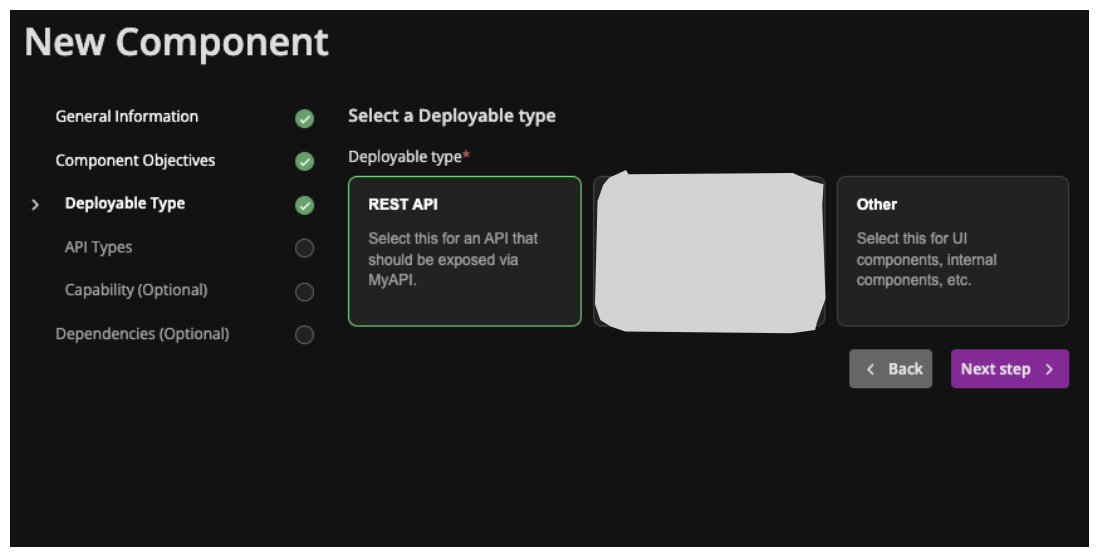
In the next step you have to chose of which type of API your new component is. You have the choice between Product API, Backend-For-Frontend or Legacy
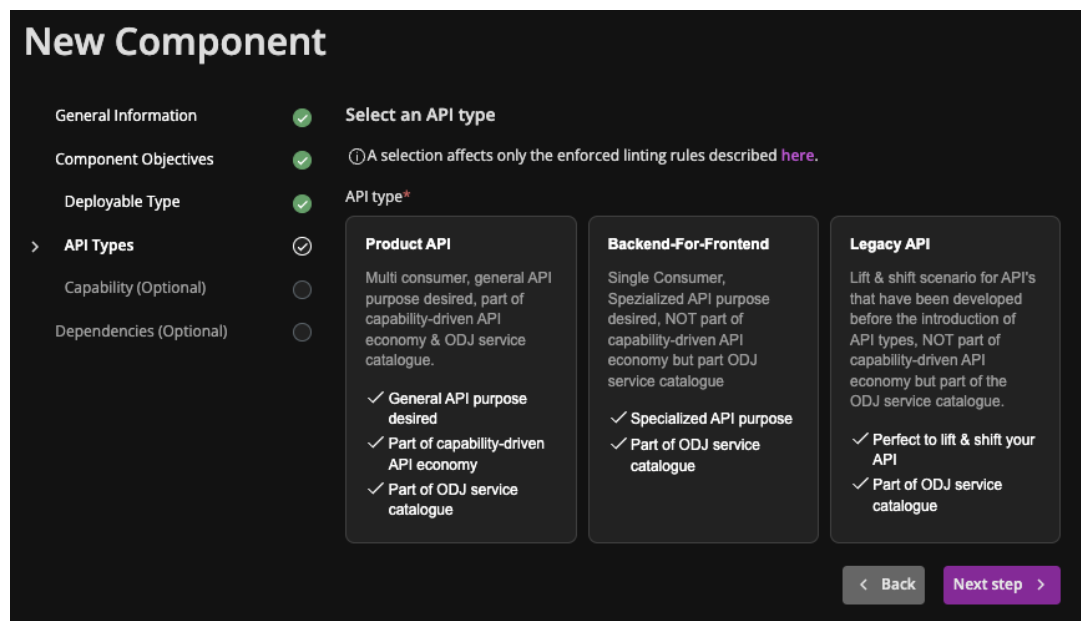
The API Types will specify the linting of your openAPI Spec file.
At the moment the different API Types referer to different linting rules. These Rules will be picked from the API Linting Job in your ODJ advanced pipeline and can be found in our Open Source github SchwarzIT Profile for a closer look
After the Deployable type's specific steps the following ones are optional. Means you do not have to add a Capability or Dependencies now.
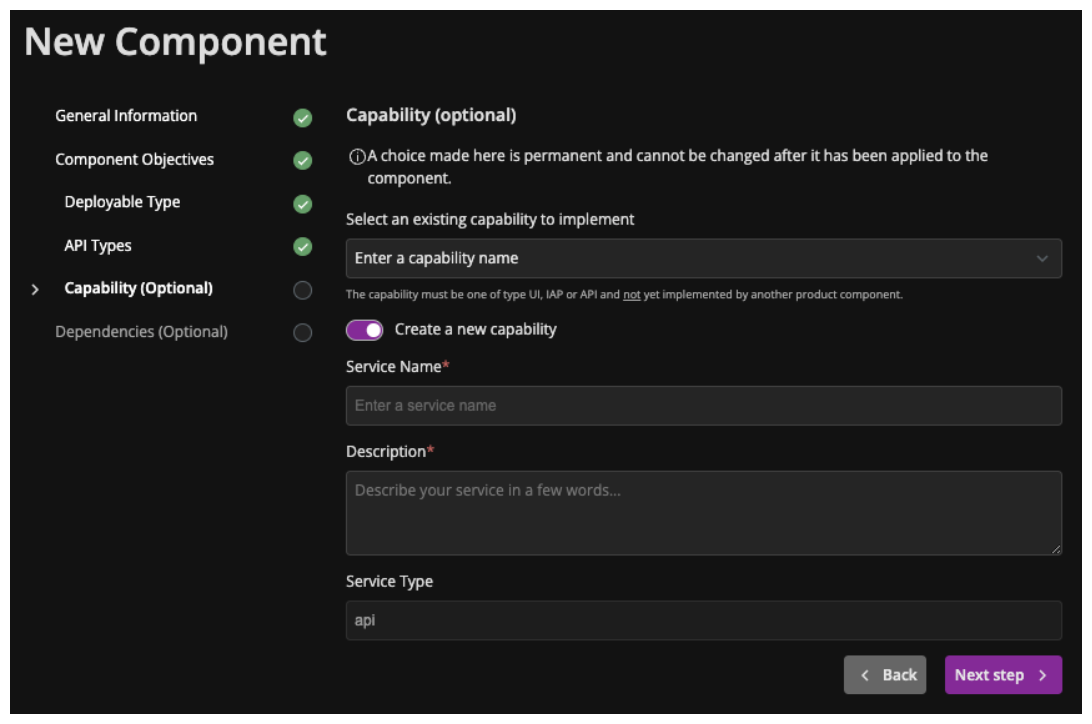
There are two options to chose:
- Select an existing capability to implement
- Create a new capability (turn the switch on)
Select an existing capability
If you have already an existing capability that you want to implement to expose your Deployable with, you can chose one with the dropdown field or you type the name of it in the same field for filtering the result.
There are only capabilities available as options to chose, which are not implemented by another component in your product and the capability has to be from type UI, IAP or API. Otherwise the capability will not be shown as possible option.
Create a new capability
When you want to create a new capability for your component, you need to fill out the mandatory fields in the wizard to do so. The mandatory fields are:
- Service Name*: A proper service name which is unique. This name will be shown in the Service Catalog
- Description*: A description which tells other users of this capability what the context is. Simply describe the purpose of it.
After you find the existing capability you looking for or you created a new one, simply hit the "Next Step" Button.
You can add Capability or Dependencies later, when needed as well. You simply have to edit your component and will see the Component Overview Page
Details
To edit a existing component you have to use the "Edit" Button at the top of the component overview page.
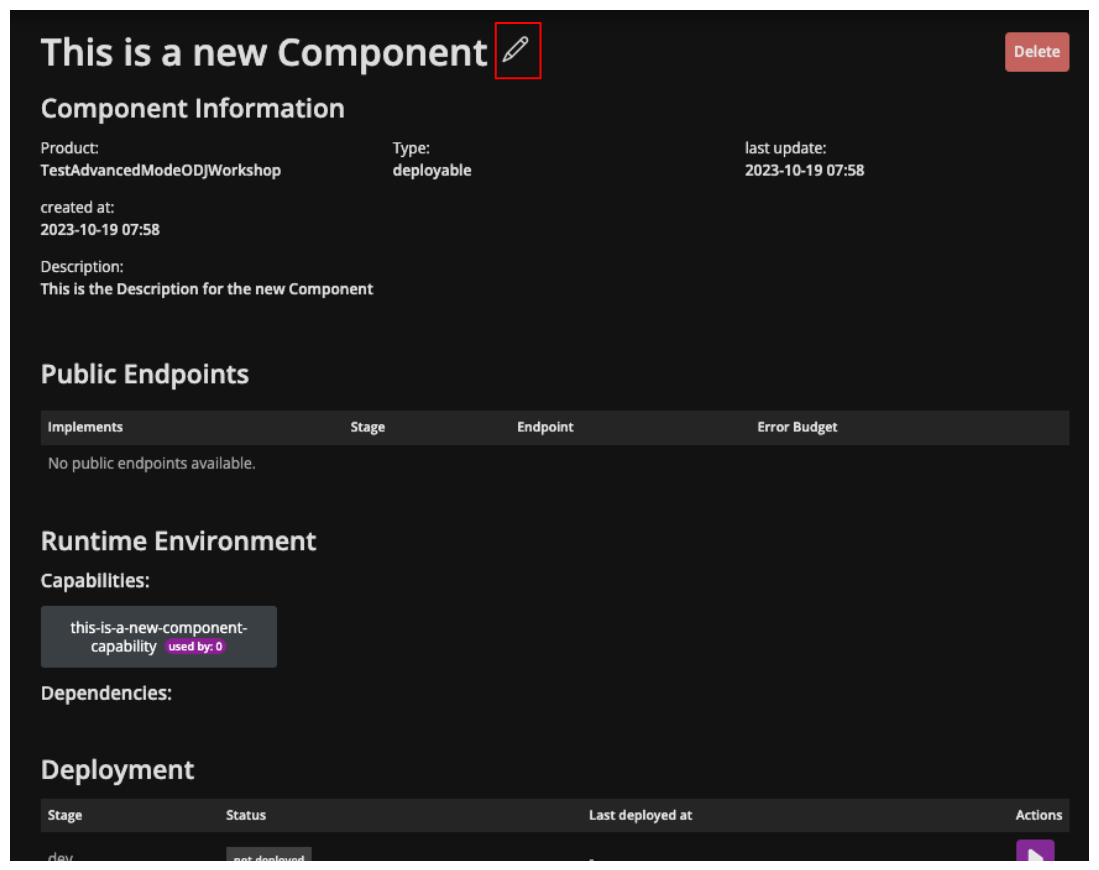
If you already have a dependency bootstrapped to your component it will look like this. You can edit the bootstrapped dependencies as you like by using the "Edit" Button on the dependencies section in aboves screen as well.
- With
- Without
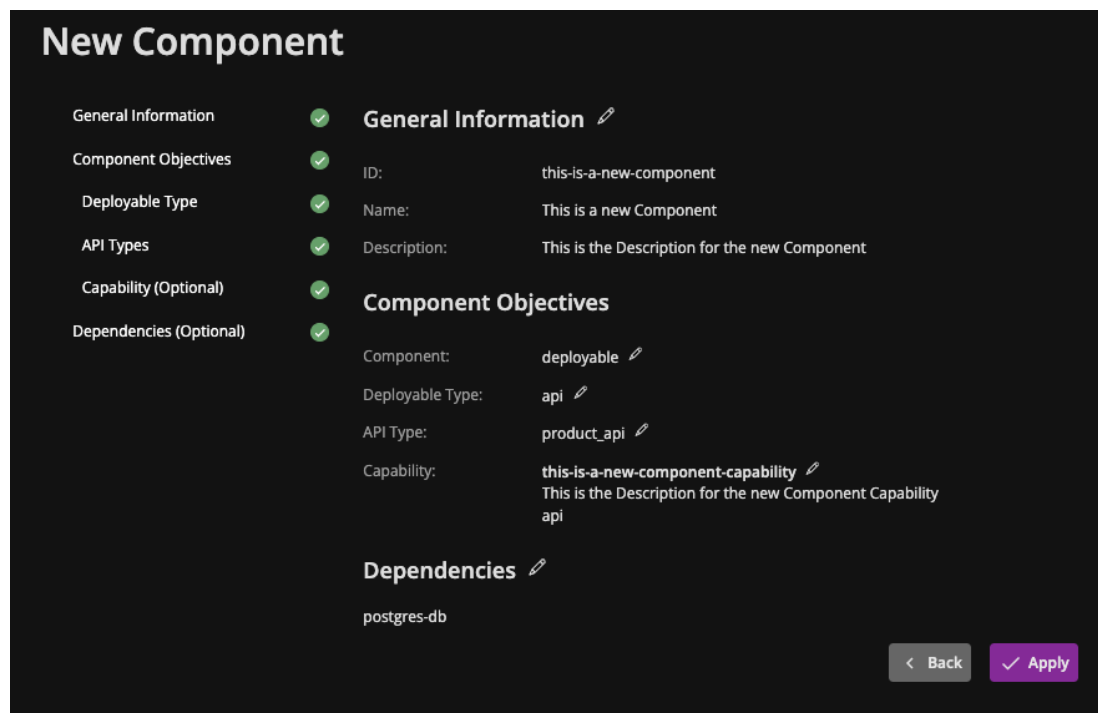
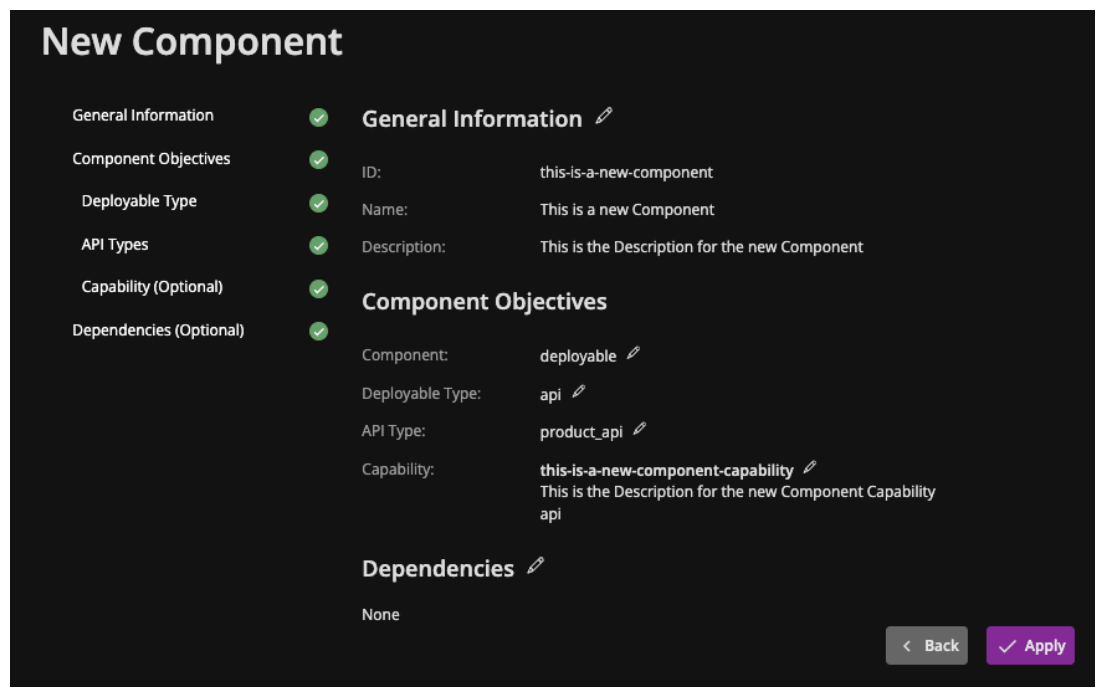
A Component does not differentiate between dependencies, statics and secrets when bootstrapping it to a component. They will be all treated as dependency. If you want to bootstrap a static to your component you have to do it in the dependencies section as well.
Configuration of a Component
Component Information
The information section shows general information about your component and has the "Edit" Button to change the component.

Public Endpoints
In this section you will find the public endpoints for all stages of your Component, if it has a capability created or bootstrapped to it.

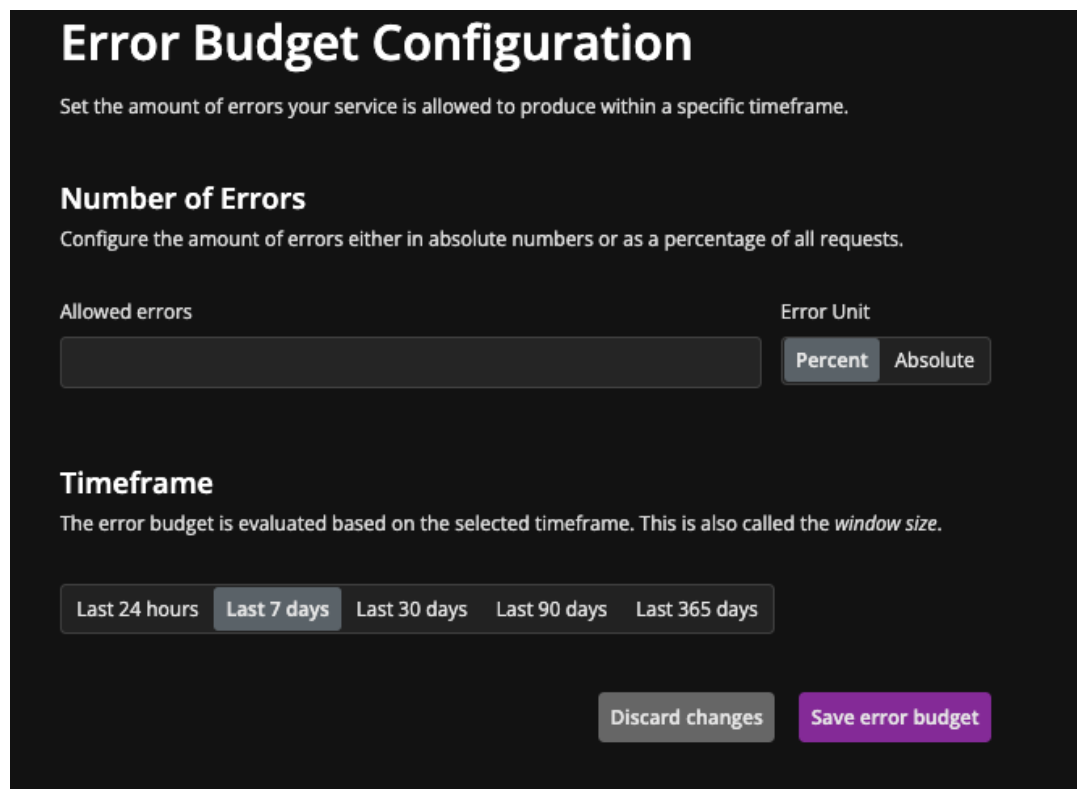
You can specify an error budget on a specific endpoint to get notified if this budget is exceeded.
Runtime Environment
The Runtime Environment section shows all Capabilities and Dependencies that this component implements.

Deployment
You can specify several Properties, which will be respected, when provisioning of the component takes places on the Runtime. The following section will explain the different properties available.
In the Component Overview, there is the section Deployments, which is the place to adjust these Properties for each stage of your Runtime Environment.

All possible properties are labeled with a self explanatory description.
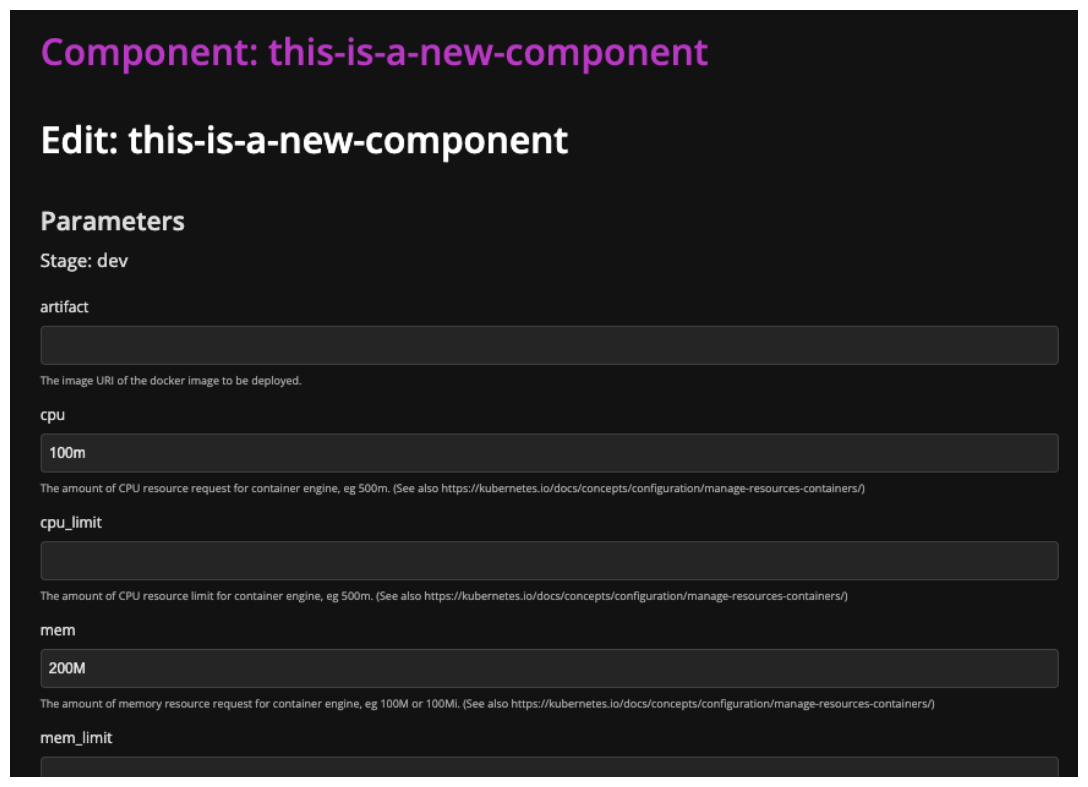
Some of the Properties will be automatically set by the ODJ. For Instance the artifact property will be set by the Advanced Pipeline with the latest container-image build. You do not have to adjust here anything.
Developer Environment
Here you can specify the Developer Environment details for your Component. How you do that, please see Developer Tools
